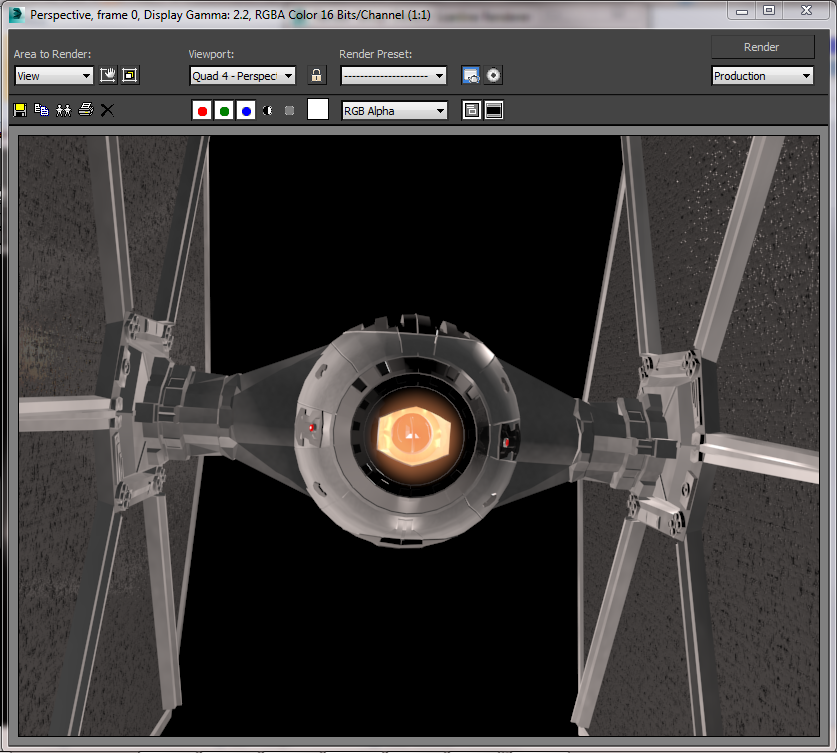
Taking note from when i textured the shuttle the first thing i wanted to add to the Tie-Fighter was an engine glow. I wanted to keep it simple so i experimented with omni lights. Omni lights spread light equally in all directions, and you can specify and modify the attenuation, which is essentially how far the light will spread. By reducing the start and finish points of the attenuation of the light i made it so the glow would only protrude slightly form the rear of the engine. By adding a volume effect and adding noise to the light i can make the attenuation visible to create a dome like glowing effect. I also made sure that this particular light did not effect any other objects in the scene as i will rig up other lights for that i want this light to just interact with the Tie-Fighter itself.
Positioning engine onmi light inside fuselage

Engine glow

I approached the Tie-Fighter slightly differently to previous models. I have been using the UVW Unwrap modifier up to now, but i can see problems arising with this model. The main sphere that is the fuselage has been heavily modified and sliced and cut, and i know i am not going to be able to get a workable template as the polygons are irregular and numerous. So the Tie-Fighter is going to use mainly procedural maps created in 3ds Max.
I still detached parts of the ship that were going to have different materials or variations of materials. I also added some more geometry to the wings to better fit the source images. I did try to achieve this wing detail with materials and maps but to no success. I did however get an idea for the main wing panels though while experimenting with bump maps.
Detaching roof

Detaching main wing

Detaching guns mounts

As the inside of the cockpit has no detail in it i made the glass texture for the view port completely opaque and reflective. If i decide to develop these models further past the assignment i would like to add some cockpit detail and make the glass see through slightly. This would add to the overall realism of thee models.

Making use of the numerous maps slots in the material editor you can start to build up realistic and reactive surface textures. Starting with a basic diffuse texture created in gimp and then adding a dent bump map the solar panels on the wings start to look quite realistic, as the map gives the illusion of depth without the geometry. The bump map channels when used effectively can give a high level of detail without adding excess and numerous polygons. The number of polygons i would need to modify to get a similar effect with geometry would severely impact my overall efficiency of the model. I still have a lot of control over the material in the editor i can specify the tiling the angle and the offset, all without having to wrestle with the UVW maps.
Another reason why i chose this method is that when i made the model, unbeknownst to me, the wings somehow became overlapped, and there was polygons occupying the same space. This was the first model i made so mistakes were inevitable. I think this happened when i applied the symmetry modifier, i wasn't particularity comfortable with it at the time, and although it looks OK at the time, when i looked at the wings from certain angles the geometry would strobe. I did try to export the map, paint it, then apply it back on, but the textures just did not display properly because of the geometry.
Creating wing panel material

Adding a reflective map on the wing panel material really brought the texture to life for me, and made it look realistic. It will react with the light and other objects in the scene which is how the material would react in real life.

I chose to use a different darker metal material on the detached parts of the fuselage and cockpit. Originally i had all the materials the same through out the main part of the ship, but i found this approach did not bring out the detail in the separate parts of the model. By having a darker material on the roof hatch, the view-port rim, small panels on the fuselage you are forced into paying more attention to these parts of the ship. And the contrast means you can clearly see that these parts are in fact separate, where as with one main material the colours and geometry just seemed to blend in. Hence i lost some the detail i put so much time into. I also found that making another colour material for even smaller detail on the detached parts of the ship helps bring these details to the audiences attention.
Using glass effect texture on the rear lights and the guns again helps distinguish between these details and the main ship. Such small detail is in danger of being overlooked so enhancing its reflective qualities and using a bright colour makes these details stand out. Its true that this is how the original is textured also, but changing the other parameters and not just the colour i found makes a real difference and certainly improves the quality of finish on the models.
Variation of metal material on Fuselage

Rear lights material being added

Gun material clearly distinguishable

Overall i fell the materials i have used really does the model justice, no detail is lost and they look quite realistic when rendered. In fact i think that look more realistic than the textures i made i GIMP for the previous models. I was more restricted with the detail i could ad however. I will be interested to use a combination of the two methods in future projects.
Finished Tie-Fighter (Rendered Views)


No comments:
Post a Comment